Photoshop Tutorials
Software: Photoshop Cs6
Difficulty: Intermediate
Completion Time: 30 min.
Just like we have “The Girl Who Played With Fire” – a bestselling
novel by Swedish writer Stieg Larsson, today we are going to recreate
the fire burning effect with a male figure. You don’t have to use a
human image for this, it can even be used on alphabets or basically
anything that depicts a sense of style and mystery! Enjoy=)
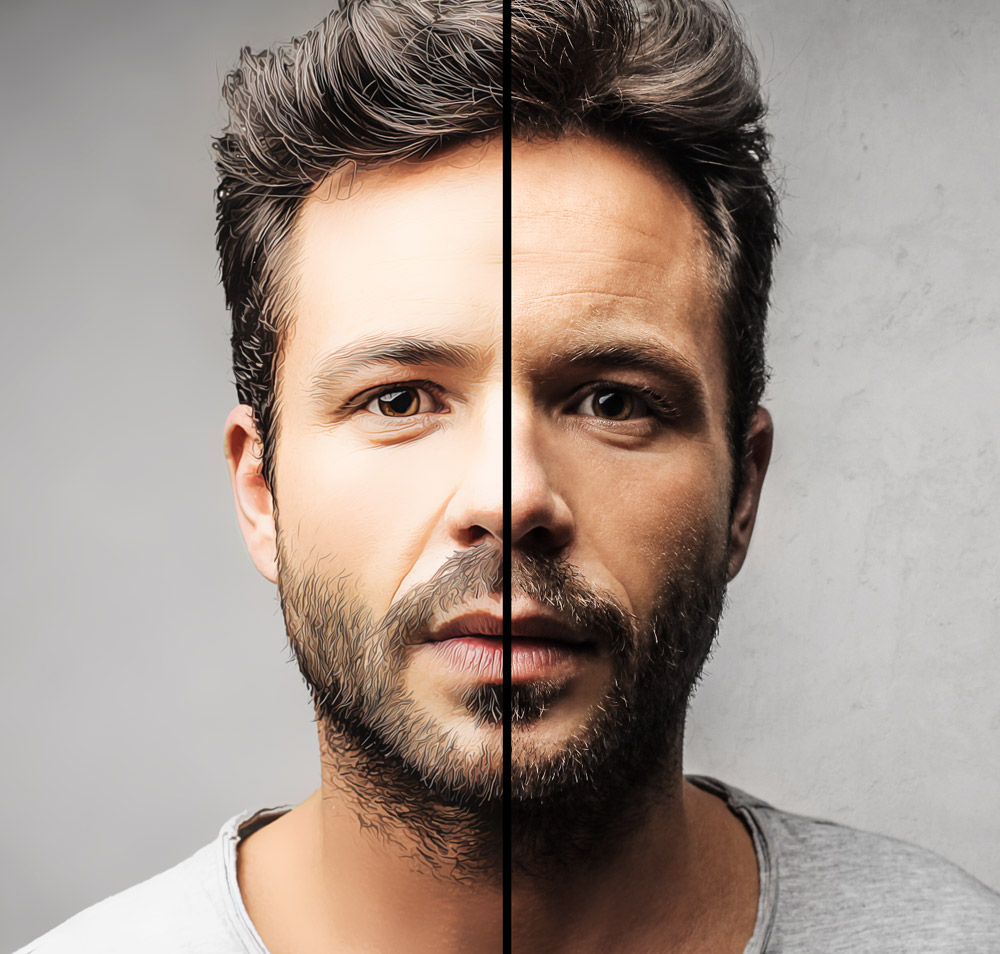
Image Used For This Tutorial:
STEP 1:
First, we need our fire. Find several different fire images that are
on black backgrounds – it’s better to have options. Set all your fire
images layer modes to “Screen” to remove the black background.

How
and where you place your fire is 100% up to you. I suggest starting
with the edges of the person or object. I chose a stock image of fire
that looks like it’s on the edge of something, and angled it onto the
inner arm.

Then, I added a layer mask to the fire image and masked out parts of the fire that’s not on the inner arm.

I
repeated this step, using the same fire over and over again, but I made
sure to flip it horizontally sometimes, and use different sections of
the fire.

Next,
we’ll add our “filler” fire. Find larger pieces of fire images to cover
large areas. Again, set all the fire layers to “screen”.I used the same
fire image twice. Try to shape and mold many different small fire
images as opposed to using one giant one.
I used a layer mask once again to remove the fire on the overlapped
arm. This is important so that we do not lose the shape of the arm
amongst the fire.

Here’s
another example of more fire. Again, find an appropriate fire image,
set it to screen, angle it appropriately, and then mask away any piece
of fire you don’t want.

Repeat
this step until you’re happy with your fire. I also added very tiny
images of fire onto his eyes. Here’s what mine looks like:

Once done, group all your fire layers together and name the group
“Fire”.
STEP 2:
Usually, most tutorials stop here – but really, we’re only halfway
there! Now, let’s make the fire appear more solid so that it looks more
realistic. Right now, it’s much too transparent.
- Create a layer below your “Fire” group and name it “fire background”.
- With a semi large round brush set to a medium dark red-orange (#8b2c0d), paint behind the fire.
Focus on the areas that look too transparent. Use a soft round eraser
brush to get rid of any hard edges. This is what my layer looks like
with and without the fire:
- Create a new layer above your “fire background” layer – set it to “Soft Light”.
- With a large soft round brush set to orange, paint anywhere on your subject where there’s fire.

Now:
- Create a new layer above that layer and again, set it to “Soft Light”.
- With a large round soft brush, paint a giant blob of an orange-red color (#dd4e05) where the fire is and on the surface of your subject.
Try to keep in mind where the light from the fire would be hitting.
In my case, I keep all the light and orange colors to the left side of
the man’s face. I set layer to 70% opacity.

Next, create one more layer above that layer and again, set it to
“Soft Light” and bring it down to around 70% opacity. Paint another large blob of color, this time a lighter red-orange color
(#ff894f).
Now, let’s use the “Blend If” function:
- Double-click on the layer thumb to open up the “Layer Style” panel. At the bottom, you’ll see a “Blend If” section.
- Go to “Underlying Layer” and hold the Alt key to move around the individual toggles.
How you set them is up to you; experiment and find what looks best. This is what mine looks like:

Group the 4 layers you’ve just created together, and name the group
“Fire Fill”.
STEP 3:
Create some highlights. You can either paint them using a tablet, or use the pen tool like what I’ll do.
- Select the brush tool and set it to 0% Hardness, 100% opacity and around 2-5 px in size. The size will depend on how large your image is. I went with 2px.
- Select your Pen Tool and create single paths outlining the various edges of your subject. You can hide your “Fire” and “Fire Fill” group to help you see better.
Here are what my paths look like:
When you’re satisfied with the amount of highlights you have (I also added some to the face):
- Create a layer above the “Fire” group and set it to “Screen”. Make sure your foreground color is set to the color you want your highlights to be – I chose a light yellow-orange.
- With the Pen Tool selected, right click > Stroke Path. Make sure “Simulate Pen Pressure” is checked. Click “OK”.
- Duplicate the layer and set it to “Overlay”.
- Go to Filter > Blur > Gaussian Blur and blur it a couple of pixels – just enough to give your highlights a slight subtle glow.
- Group the two layers together and name the group “Highlights”.
- Make sure to turn your “Fire” and “Fire Fill” groups back on.
STEP 4:
Next, we’re going to add glow to the fire.
- Create a layer above your “Highlights” group.
- Using a large soft round brush, paint a medium red (#d00f00) over your subject.

Now again, use the
“Blend If” function. This is my setting:

Set the layer mode to
“Screen”.
Create a new layer and repeat the same steps, only this time with an orange color (#dd4900). This is my “Blend If” setting:

Create one more layer above that layer, set it to
“Screen” and cover the whole portion of your image where there is fire.
For me, it’s the whole right side of the image. I used a very large soft round brush set to a darker red (#9e0000). Make sure it is very soft; blur it out if you need to.
Set the layer opacity to around 27%.

Group those three layers together and name the group
“Glow”.
Step 5:
- Next, we’re going to increase the intensity of the fire by adding a
complementary dark color to the opposite side of the image. Since our
fire is red, we’ll add a blue color.
- Create a new layer and set it to “Color”.
- With a large soft round brush, paint blue ( #0e28df) on the opposite side of the fire. In my case, it’s the whole left side of the image.
- Set the layer opacity to around 27%.
 Step 6:
To add and even out color, we’re going to create a few adjustment layers.
- The first layer is a Color Balance adjustment layer. Set Cyan to +15, Magenta to -20, and Yellow to -9.
- Next, create a Curves adjustment layer and set the red curve to what you see below. Make sure to switch to the “red” curve.
- Select the layer mask of the curves layer and, using a large soft round black brush, mask out any area that isn’t on the fire.
- Finally, create a second Curves adjustment layer and click in the middle of the RGB curve. Bring it down to darken up the image.
- Using a large black round brush, mask out any area around the fire.

And you’re done! Have fun creating fires and blazes in your own design!